This detailed set of instructions have been very kindly prepared by Hutch Murad aka hutch6610.
1/ Lower sunrrof handle and lower surround.
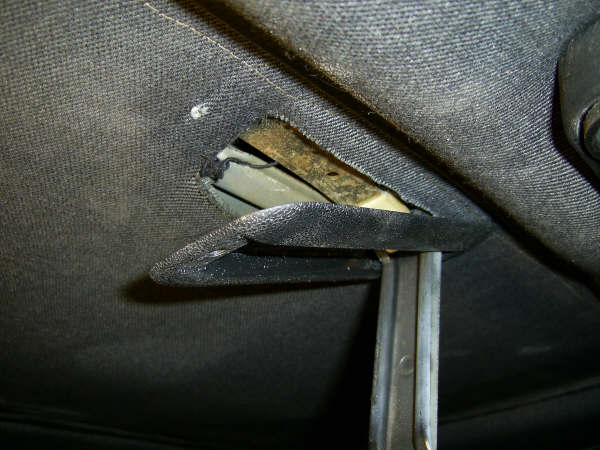
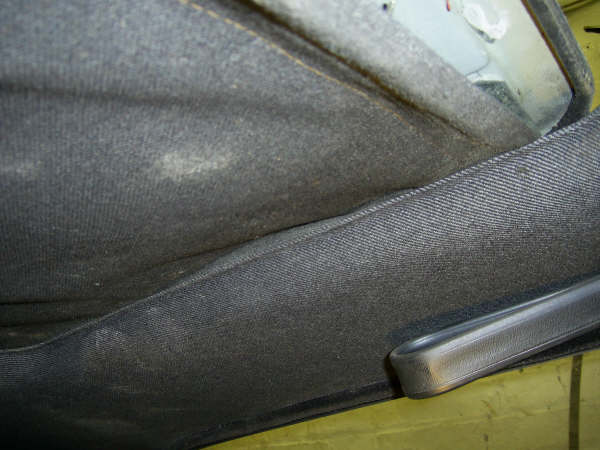
2/ Slide sunroof back three or four inches (7 to 10cm) and prise down cloth trim with steel rule or similar.
3/ Open up the tabs that hold the wire clips that holds the cloth trim, with a flat bladed screwdriver.

4/ Pull down the trim.
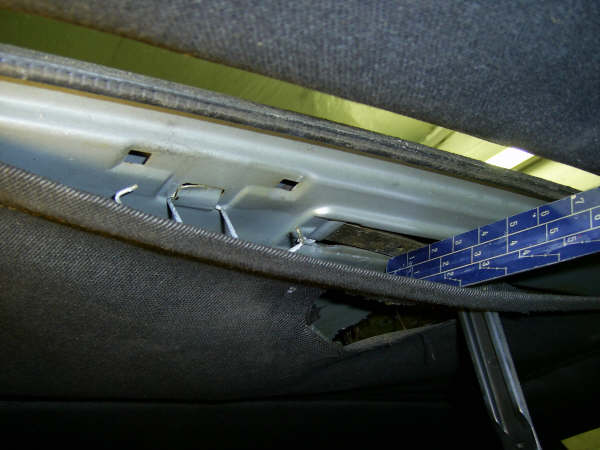
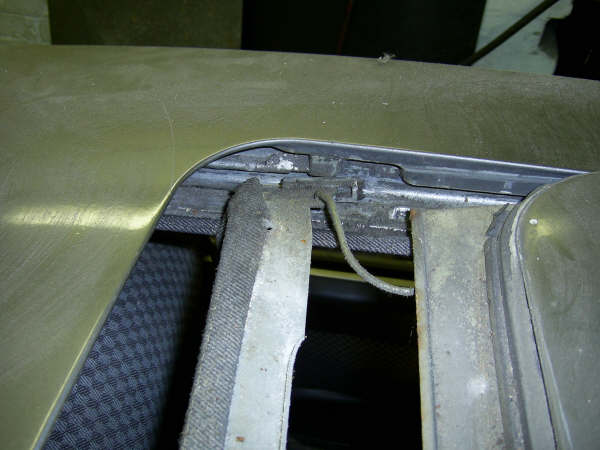
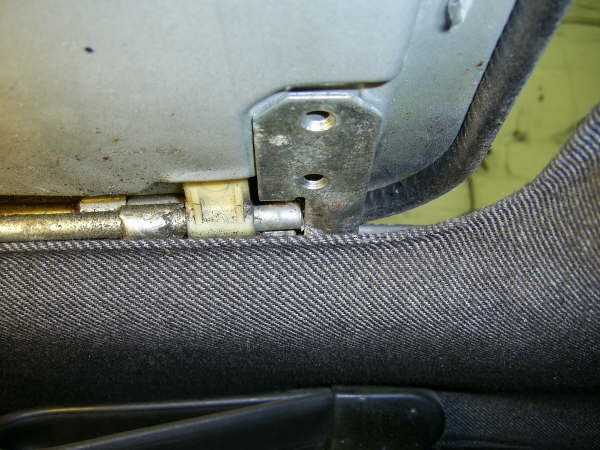
5/ Undo the screws securing the two rear guide plates, use a magnetic srewdriver to make things easier for you, label them if you are unsure where they came from and DO NOT lose the nylon guides!
6/ Then remove the two front ones.

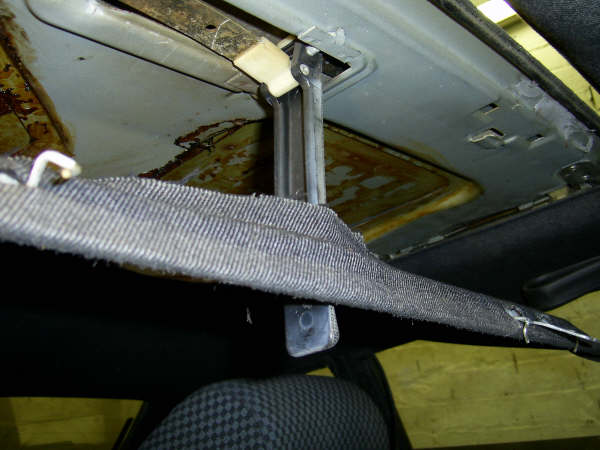
7/ The roof is now ready to come out. If you have nice paint work, mask up the roof area so not to damage it.
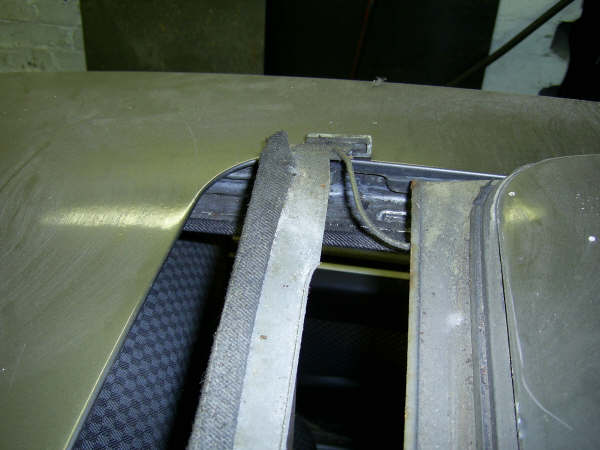
8/ Lift the front up and pull it forward.

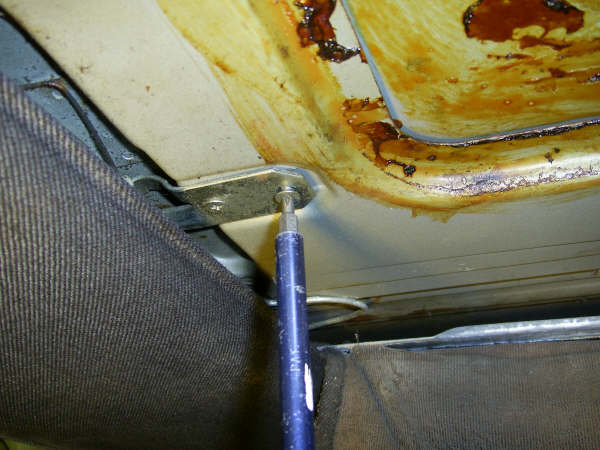
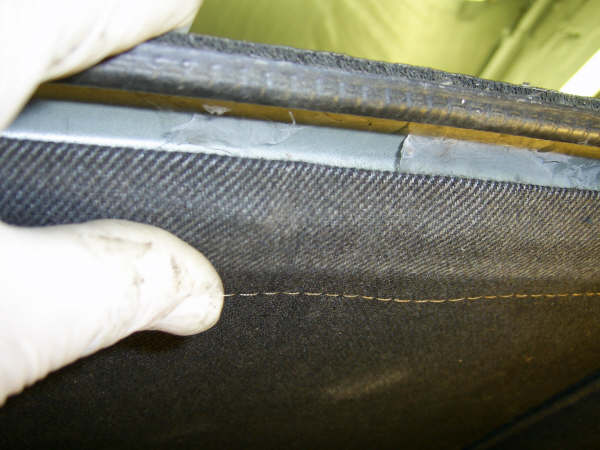
9/ Pull the cloth trim plate towards the groove.
10/ Bend the plate slightly in the middle, lift one side out and then the other side.
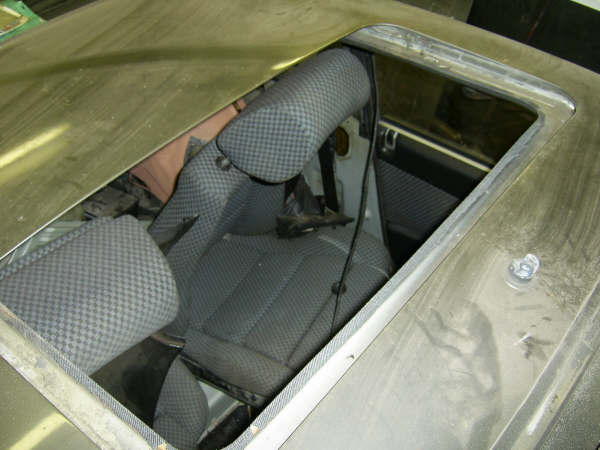
11/ You can lift out the sliding roof.
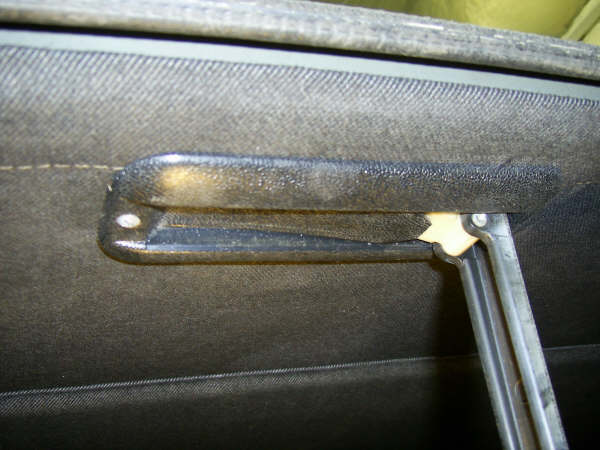
12/ View the "L" shaped guide.
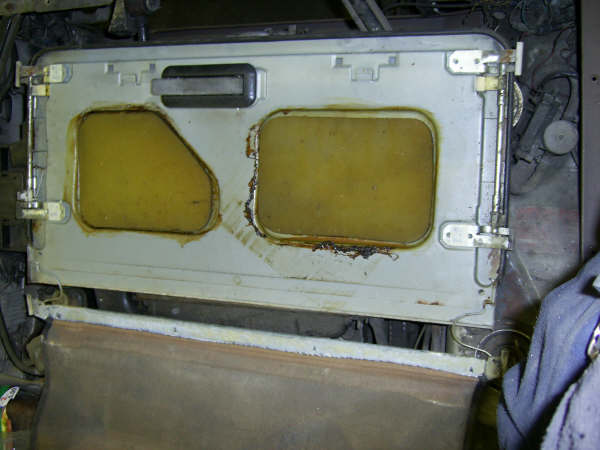
13/ Removed item laid out on engine bay (or any other flat clean surface) with cloth trim trailing behind.
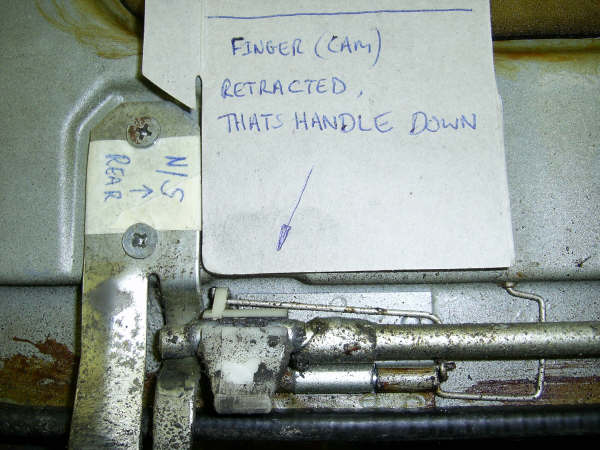
14/ This shows cam up, unlocked postion (handle down).
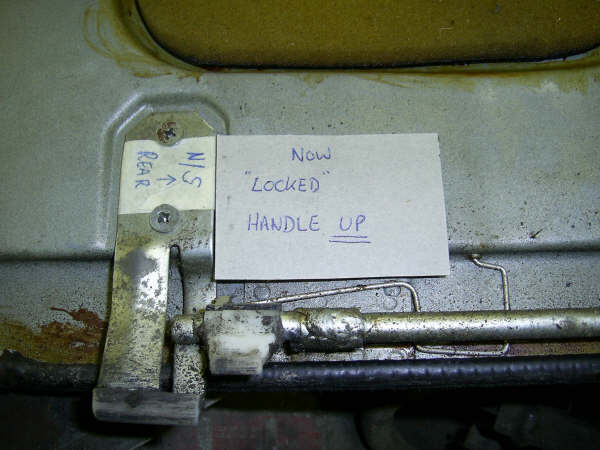
15/ Now locked, cam down (handle up). You will have to look closely to even notice the difference in the photo.
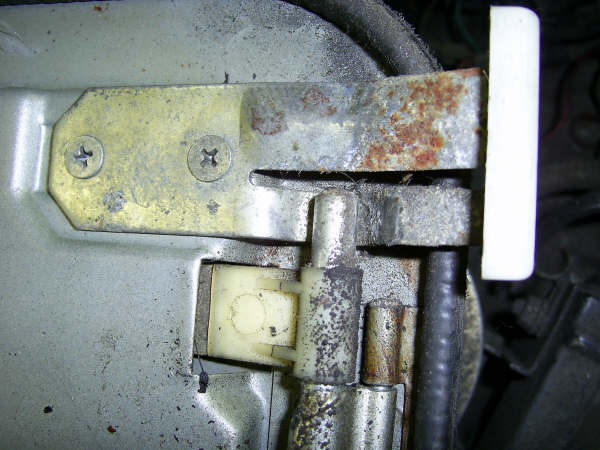
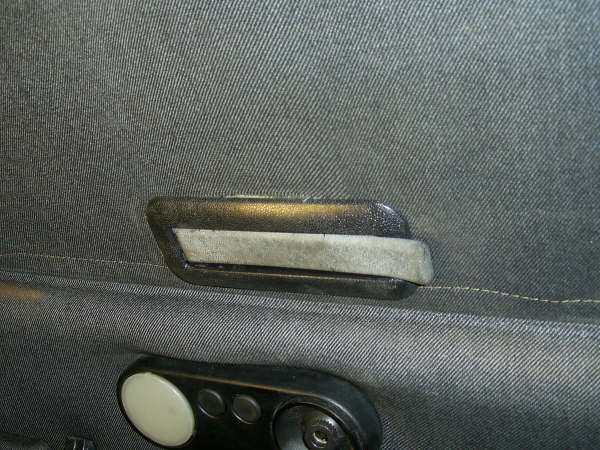
16/ The front guides plates have longer nylon guide strips.
17/ Inside handle surround, you will clearly see GM (for General Motors).

Refitting is the same but in reverse as Mr Haynes would say.
18/ The four guide plates should be put in making sure they go back into the slots and the curved position goes under the mechanism bar.
19/ With the sunroof dropped back in, pull the cloth over the handle.
20/ Push cloth back in, use the steel rule again.
21/ Do the same the opposite side.

22/ Engage metal clips into steel tabs and bend slightly.
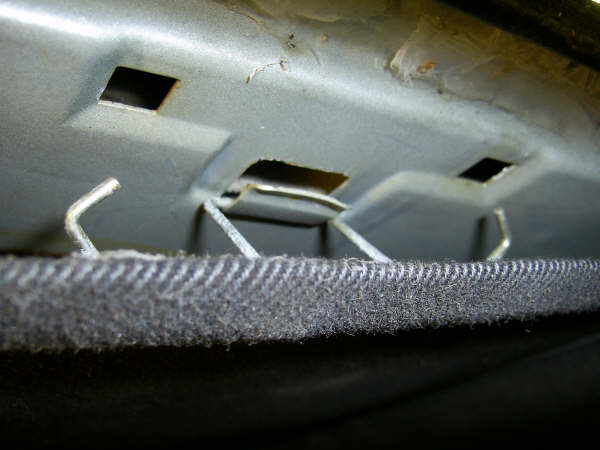
23/ Push clips into the square holes and squeeze with forefinger and thumb until it snaps home.
24/ Refit the surround BUT do not over tighten the screw as you will split the trim.
25/ View from inside, all that is left is to refit the beading.
|


