|
hongkongphooey
|
 |
« on: January 14, 2010, 10:29:03 PM » |
|
Well as requested,here's my build thread copy/paste from Retro Rides so excuse me if some of it doesn't make sense. Let me introduce you to my new project....a '77 Beta Spyder in Rover nightfire red :-/. It was originally a 1600,but somewhere in it's life it has been fitted with a 2 litre. I've no idea how it drives as the gearbox is fubared,but it did come with a good gearbox. It's been off the road since 2006 (presumably when the gearbox gave up) and it pretty tatty aound the edges. I went to see it 135 miles away in Southport last weekend,thought 'what the hell',handed over the cash and arranged to have it delivered the following monday,for the sum of £160. And here she is....She isn't really that low at the back,the boot was full of spares  Twin 40 dcnfs too 8-)  Looking a little lost in little Japan   So today I kicked the Celica out of the garage into the cold and started stripping it down to see if the rumours of terrible rust on 70's Lancias is true... Fire it all out now,think about where to put it later!!   See,totally untrue,no rust in sight!!  Erm well,perhaps a bit    Disease ridden soggy sound deadening..   It's had a mega amount of patching done on it already too....the rear turrets especially. One good thing,it looks like it has uprated springs and dampers on it as well as braided brake lines...Why does any car need this much suspension travel the wrong way though??!!  Tomorrow,i break out the grinder and knotted wheel! |
|
|
|
|
 Logged
|
|
|
|
|
hongkongphooey
|
 |
« Reply #1 on: January 14, 2010, 10:30:13 PM » |
|
You know when you start a project and you have all good intentions of making a really professional job of it,doing everything perfectly,but when you get down to it,you realise your skill/patience/resolve/tools and equipment says otherwise? Well I had that moment today!!  After seeing the amount of patches already slapped over the rot rather than cutting the rot out i've realised that i'm never going to make it perfect with my skills and budget,so i'm going to get it solid rather than pretty and roll. Anyway,after a couple of hours with the knot wheel,i was left with a headache,tingly fingers,a very dusty garage and this 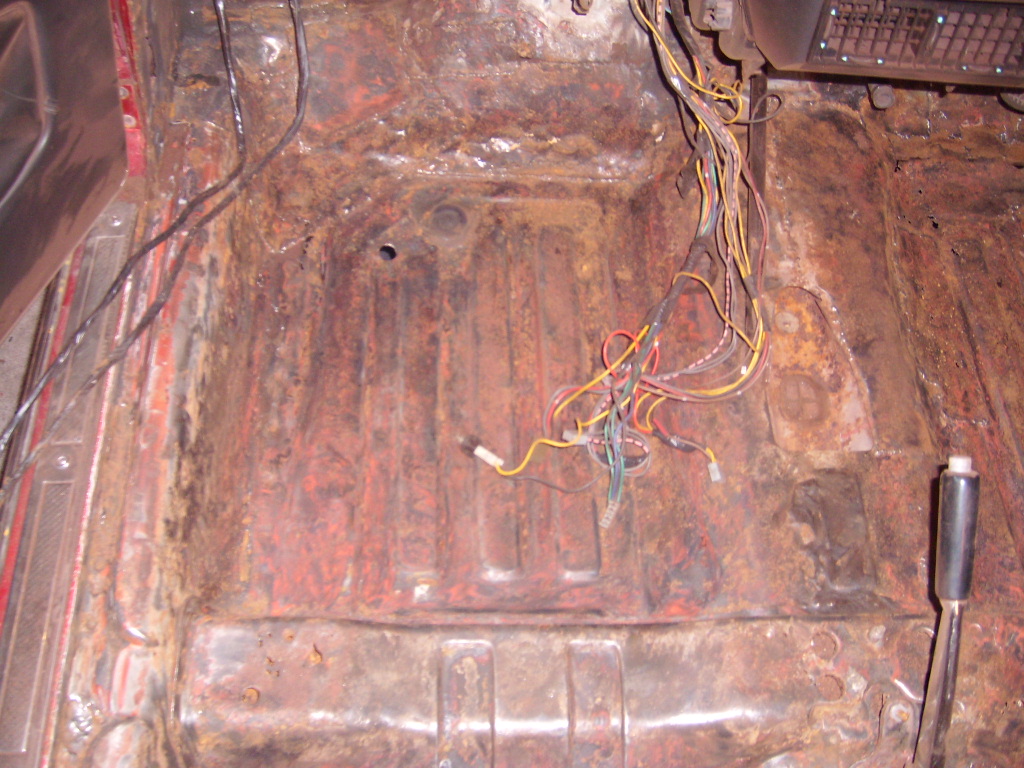   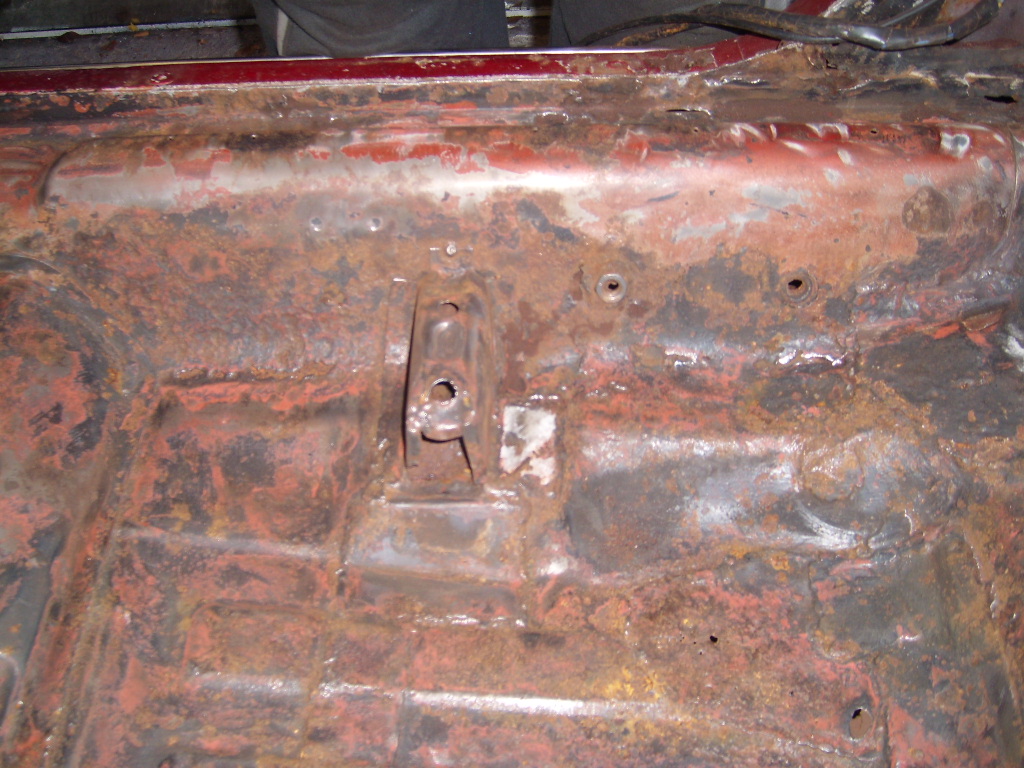  Some holes,dodgy seat and seatbelt mounts  and pinholes everywhere So off came the knot and on went the cutting disc......Ooops.  This is about the point when I start thinking....How the hell am I going to fix this!!  Unlike some great threads on here,there probably won't be many detailed pics of the repairs and I tend to get carried away with working and forget the camera....I just hope I can find some good metal to weld to!  Why do we do this again? |
|
|
|
|
 Logged
|
|
|
|
|
hongkongphooey
|
 |
« Reply #2 on: January 14, 2010, 10:32:51 PM » |
|
That's a patch and a half!  Some more patches...if you like that kind of thing 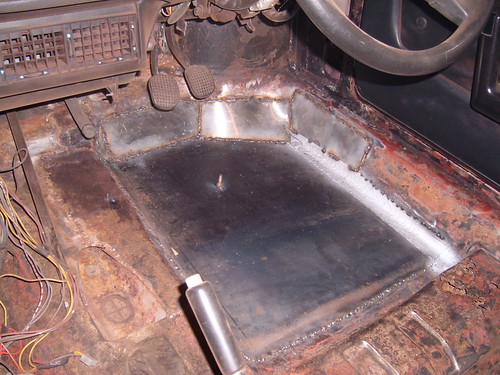  It's never as hard as you think it's going to be once you start putting metal back in. Some more general pictures of cutting out rust and welding in patches! The front seat mount was well gone and the floor under it 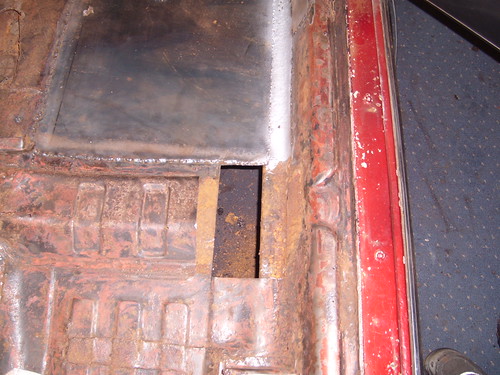   The rear mount was gone too....Also for some reason,the last person to repair it didn't use the original seatbelt mount,but welded a nut to the sill covering and used that instead! God knows why,as the original mount was solid as a rock and is welded to the actual inner sill structure.  Patched. I'll put the seat mounts back in when I decide what seats i'm using as the originals are a bit torn and tatty.  A couple of small holes on the bulkhead  Patched 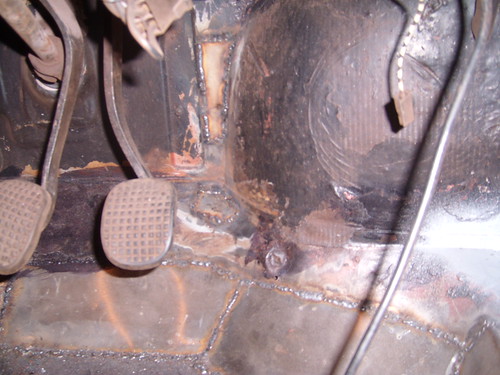 Next up on this side is a couple of repairs to the top of the sill covering and then most of the offside rear floor needs replacing as there are loads of pin hole in it. |
|
|
|
|
 Logged
|
|
|
|
|
hongkongphooey
|
 |
« Reply #3 on: January 14, 2010, 10:34:11 PM » |
|
Some more chopping,some more grinding and yep you've guessed it...some more patches. The last major patch on the drivers side  On to the passenger side.....it's already had more patches than me old Nan's quilt! Chop chop....i can see the floor again  First patch in  Building it back bit by bit  And that's the passenger front done.....not as neat as the drivers side,but hey,it was never going to win any awards anyway! 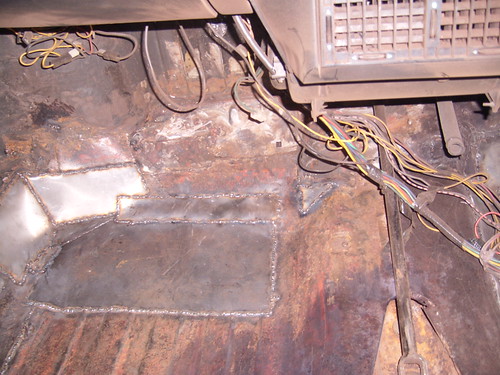 On to the nearside rear tomorrow if I don't get hoodwinked into any criggy duties |
|
|
|
|
 Logged
|
|
|
|
|
hongkongphooey
|
 |
« Reply #4 on: January 14, 2010, 10:34:39 PM » |
|
And today's efforts...More of the same unfortunately. The rear of the front seat mount and the floor underneath it needed replacing  Chop chop....patch ready for welding in 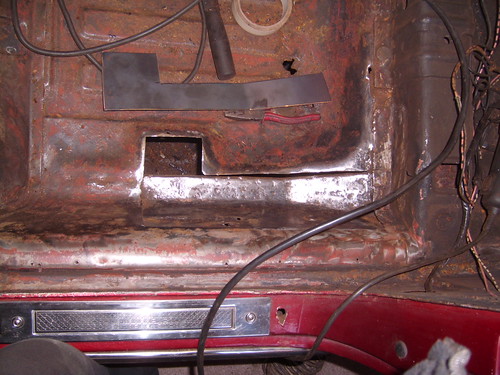 And in...bit more to do with this yet though.  While I was down the back end I found a previous halfarsed repair where the rear suspension bolts to the floor....i hope someone didn't pay for this repair! I had to chop out a section of the cross member to get to it,,,,,the cross member needed some repair to the lower part of it anyway. I haven't cut that hole out....that's what was above the suspension mount  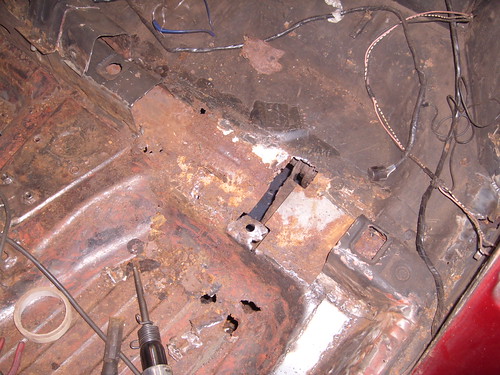 Chop it out...i did it in two sections  Weld a bit in....chop out the other side  Weld in the other side  And cross member welded back in.....i've skipped a few stages here because a) it gets a bit boring to look at and b) I never think to stop and take pics!   It's a good job I enjoy this!  |
|
|
|
|
 Logged
|
|
|
|
|
hongkongphooey
|
 |
« Reply #5 on: January 14, 2010, 10:37:07 PM » |
|
Managed to get out for a bit this morning before family duties took over..... Finished patching the rear cross-member and the sill covering and cut out the nastiness on the rear floor  I guess this'll be it till after criggy.....i'm sad,i'd rather be welding than getting intoxicated!! Well,i was going to try to take off as little as possible underseal on this car,as last time on the celica,i ended up walking little bits of it in all over the house and getting into some serious trouble!! Unfortunately,it's hiding all sorts of rubbish,so it needs doing  I found some more rust on the floor from the underneath that needs doing...These are taken from under the car   This is underneath the centre cross member which now needs removing so I can cut the rot out....spot weld drill ordered. You can see the patched up hole in the nearside rear foot well too  While i'm waiting for the spot weld drill,i thought i'd rip the rest of the headlining out and see whats what. Plenty of surface rust,but nothing too serious. The captive nuts for the roof clips need attention..  As does the tops of the screen frame on both sides  I also took the wings off to see what's underneath and was pleased to find someone had got there before me and done all the hard work!    |
|
|
|
|
 Logged
|
|
|
|
|
|
|
hongkongphooey
|
 |
« Reply #7 on: January 14, 2010, 10:39:48 PM » |
|
Anyway,on to todays progress,which was a bit frustrating as I didn't seem to be able to lay down a good weld all day! I cleaned the steel as best as possible,cleaned the earth clamp,changed the tip,messed with the settings....i hope the welder isn't packing up! Pics.....Bottom couple of bits in,with a load of waxoil as the next piece starts to box things in 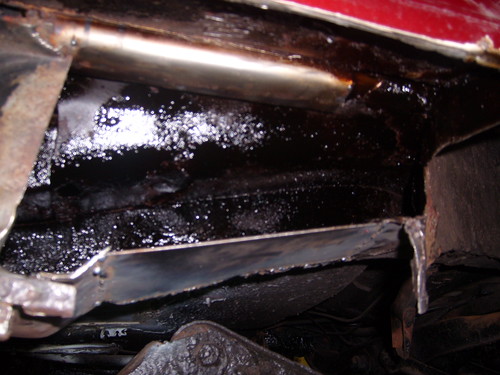 Central piece in....covered this in weld through primer. Maybe this isn't helping the welding?? 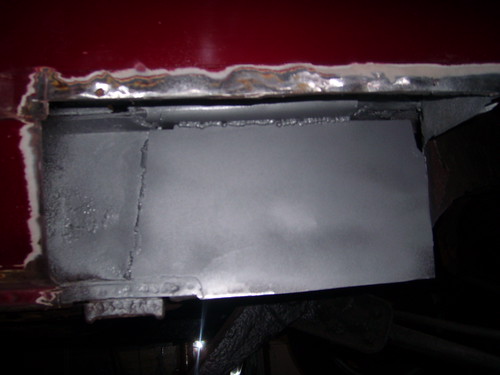 From the back 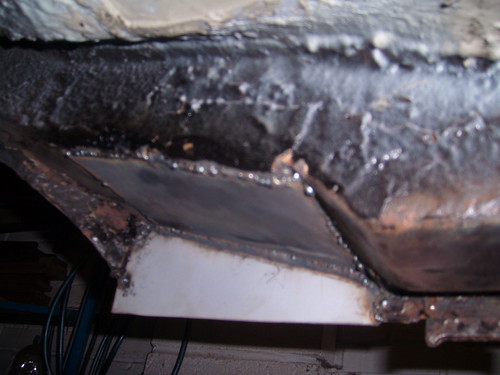 Sill piece back on....looks a real mess in the pic,but it's not ground down properly,and a trim piece goes over this,so a skim of gobbo and all will be well!  with a small repair to the back lower section   And the back end boxed in and an extra patch  On to the back of the chassis rail to repair this... 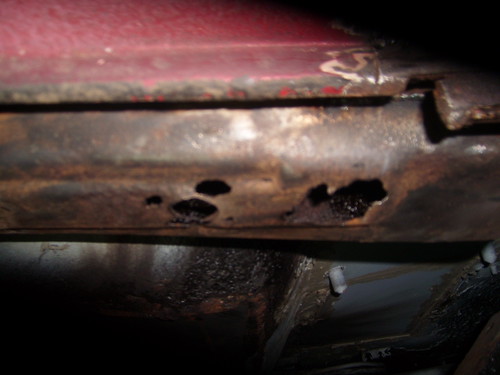 Usual thing....chop out,weld in.  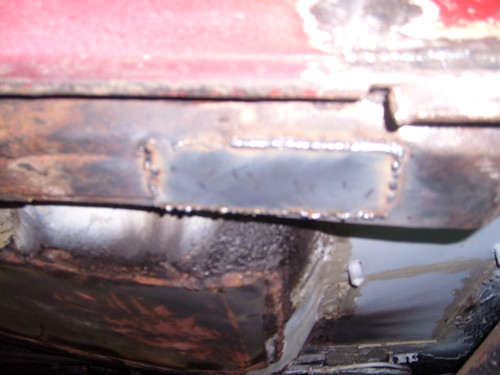 |
|
|
|
|
 Logged
|
|
|
|
|
hongkongphooey
|
 |
« Reply #8 on: January 14, 2010, 10:40:41 PM » |
|
No weldy weldy tonight,just choppy choppy.....On the front half of the sill. 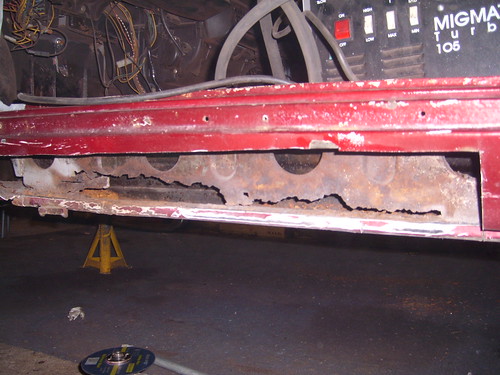 Chopped out and cleaned  Top left of the cut.....so that's where all the last bloke's welding wire got to!! 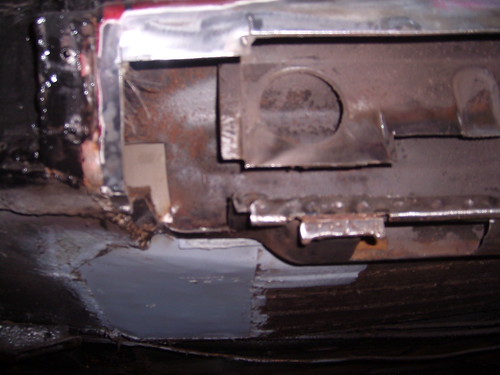 Finish cleaning and start welding tomorrow. Gonna have to make a new sill piece though as the piece I chopped out is a bit crappy. I'm going to try and utilise a pair of sills I have for a Toyota Corona,unfortunately not the model Corona I own though! |
|
|
|
|
 Logged
|
|
|
|
|
hongkongphooey
|
 |
« Reply #9 on: January 14, 2010, 10:41:54 PM » |
|
First two pieces in 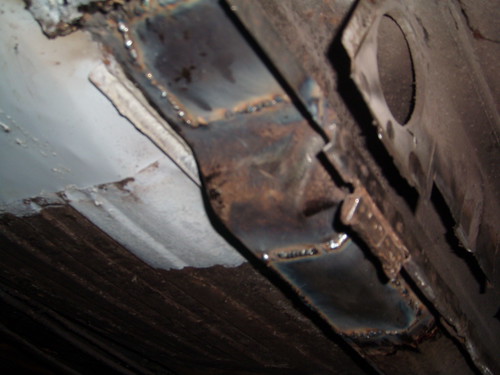 Followed by a load of waxoyl,then the central support pieces  followed by a load more waxoyl,ready for the outer covering 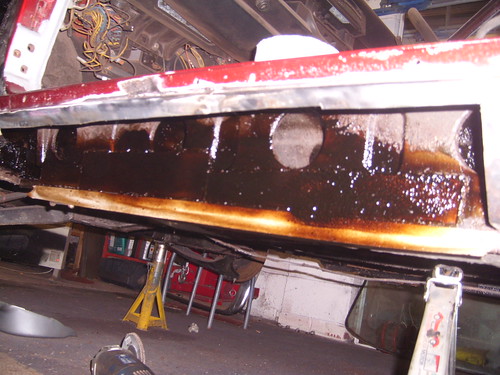 |
|
|
|
|
 Logged
|
|
|
|
|
HFStuart
|
 |
« Reply #10 on: January 15, 2010, 06:43:56 PM » |
|
It's great to see but I can't believe how fast you're progressing with this. TBH it irritates the hell out of me as my garage it too small to work on the car so I had to spend all of Christmass with the inlaws....
I think you might be best to weld a rib or two to that large floor panel - it's bound to resonate at some speed and it'll save you pulling out the interior again when it does !
|
|
|
|
|
 Logged
|
|
|
|
|
|
|
hongkongphooey
|
 |
« Reply #12 on: January 17, 2010, 09:09:54 PM » |
|
I spent my time filling in the holes today. 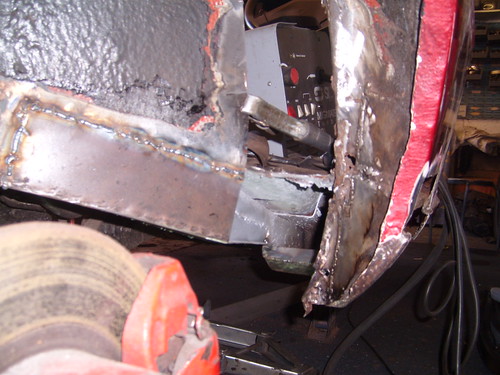 Another angle  This piece was left long for a reason.....to be revealed later  And the rear chassis section boxed in 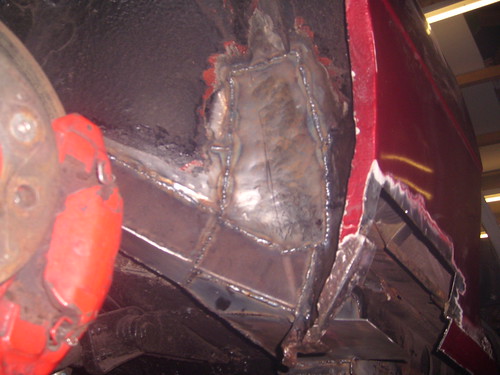 And the centre sill support section in the middle of being welding in  Some good progress me thinks.  |
|
|
|
|
 Logged
|
|
|
|
|
HFStuart
|
 |
« Reply #13 on: January 17, 2010, 09:31:10 PM » |
|
Indeed - once it's done what will you do to paint it ?
Susnshine today at last today ! So I was able to start striping my scrapper to give me enough space to work on the other one.
New storage shelves assembled, exhaust off, tank out, interior stripped. Which in istelf is not too bad between wife and daughter duties.
Taking up the underfelt confirmed it's the right thing to do - what a mess it makes yours look rock solid !
Stuart
|
|
|
|
|
 Logged
|
|
|
|
|
hongkongphooey
|
 |
« Reply #14 on: January 17, 2010, 10:19:49 PM » |
|
I'll spray it in my garage....i'm not one for spending 2k on a paint job!  The underfelt is disgusting stuff isn't it.....just soaks up water and holds it like a sponge. Did you have any trouble taking your tank out? |
|
|
|
|
 Logged
|
|
|
|
|
HFStuart
|
 |
« Reply #15 on: January 18, 2010, 10:57:31 AM » |
|
Yep - it was specially designed by Lancia to rot out the floorpans.
Thankfully the tank is fabricated allumium one that's only been in for a couple of years so removing it wasn't a problem. When I took the original off I was very careful but I still sheared one of the studs. Ideally I'd have used heat to loosen them but I was a bit timid doing that with the tank so close.
Stuart
|
|
|
|
|
 Logged
|
|
|
|
|
hongkongphooey
|
 |
« Reply #16 on: January 18, 2010, 05:30:37 PM » |
|
I'll have to find the studs under 6" of underseal first!
|
|
|
|
|
 Logged
|
|
|
|
|
hongkongphooey
|
 |
« Reply #17 on: January 20, 2010, 10:51:06 PM » |
|
I've done a few bits more....plenty of grinding and a few little patches,not worth any pics though,but the main thing was getting the Corona sill panel on and the rear section completed. Pics... It's going to need some filler,but then so is the rest of the car   And the reason I left that piece sticking out earlier on 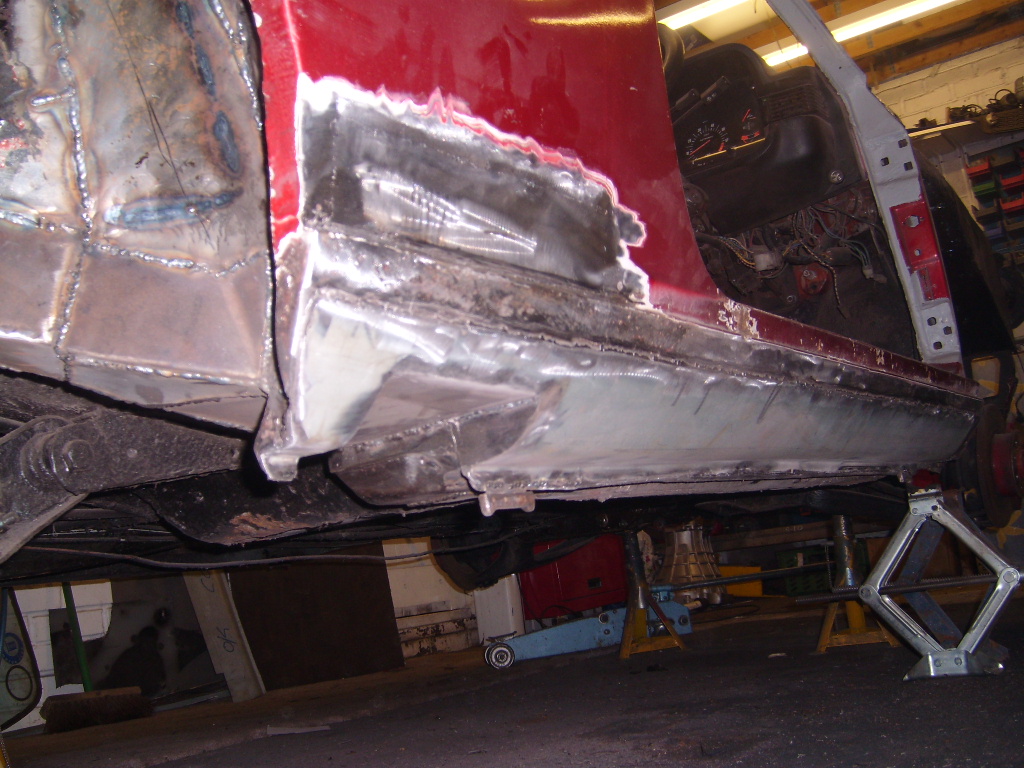  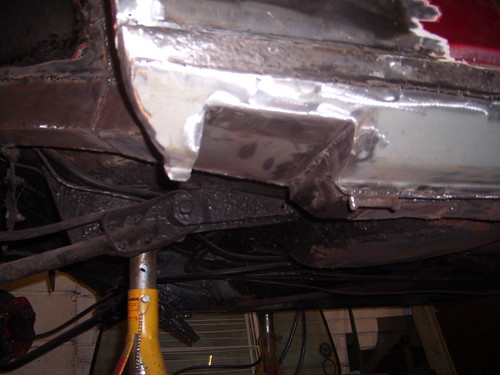 Should be just about right for a side exit exhaust.....i've always wanted one  |
|
|
|
|
 Logged
|
|
|
|
lanciamad
http://www.flickr.com/photos/lanciamad
Hero Member
    
 Offline Offline
 England
Posts: 699
Marcus Robinson
|
 |
« Reply #18 on: January 20, 2010, 11:00:06 PM » |
|
Ahh so that's what you were upto  , guess your be fitting a custom system then  Would have been easy to fit a side exit exhuast on the other side using the original system but bet it would be loud. |
|
|
|
|
 Logged
|
|
|
|
|
rossocorsa
Guest
|
 |
« Reply #19 on: January 20, 2010, 11:58:04 PM » |
|
is a side exit exhaust road legal? or more to the point are you sure you will not gas yourself especially with the hood down and pedal to the metal? lancia dedras have a habit of nearly gassing the occupants and they have a tin roof and a conventional exhaust so a beta spider with a side exhaust and no catalytic converter......
|
|
|
|
« Last Edit: January 21, 2010, 12:07:23 AM by rossocorsa »
|
 Logged
|
|
|
|
|


